
Key point
The best macro pad layout for MT5 trade management is not the layout with the most buttons. It is the layout that makes the most important commands clear, spaced, labeled, and easy to test in a demo account.
A macro pad can support a manual trading workflow, but it should not hide account, symbol, volume, direction, stop, or close-scope checks. The layout should make those checks easier to remember, not easier to skip.
Start with workflow before hardware
Before choosing a layout, list the actions the trader actually performs. Some traders mostly need entry and breakeven controls. Others need current-symbol close, close-profit, trailing management, or a quick way to show and hide the command panel.
The layout should be built around repeated manual actions, not around every feature the software can support. A smaller layout that the trader understands is usually safer than a large layout filled with commands that are rarely tested.
This also helps avoid hardware confusion. CIQ Traders Keyboard is software-only. A macro pad is an optional input device chosen separately, so layout guidance must not imply that hardware is included.
Four-key layouts for the smallest routine
A four-key macro pad can work for a very simple routine. A cautious trader might map show or hide panel, open key mapping, breakeven, and one clearly scoped close command. Another trader might use buy, sell, breakeven, and close current symbol after a long demo test period.
The advantage is simplicity. There are fewer labels to remember and fewer physical positions to confuse. The disadvantage is that a four-key layout cannot cover many workflows without layers, modifiers, or memorized meaning.
For a beginner, four keys can be a training layout. It forces the trader to focus on the commands that matter most and postpone advanced controls until the basic routine is proven.
Eight-key layouts for a balanced command center
An eight-key layout is often a more practical balance for MT5 trade management. It can separate entry, protection, close, and utility controls without becoming too crowded.
One example is to place buy and sell on one side, panel or mapping controls in the middle, and protection or close controls on the other side. The exact arrangement depends on the trader's routine, but the important idea is grouping.
Grouping reduces hesitation. The trader should be able to tell which area opens exposure, which area manages protection, and which area exits or reduces exposure before pressing anything.
Twelve-key layouts for experienced routines
A twelve-key layout can support more commands, but it also increases the chance of accidental action if labels are unclear. It should be used only after the trader has already tested the smaller workflow.
A larger layout may include separate entry sizes, breakeven, trailing mode, close-profit, current-symbol close, panel toggle, mapping, and a mode indicator. That can be useful, but only when each command has a clear label and known scope.
The risk is feature creep. Adding more keys can feel professional while making the workflow harder to control. A twelve-key layout should earn its place through demo evidence.
Separate high-impact commands
Commands that close positions or affect multiple trades should not sit beside ordinary utility buttons. A close command deserves visual separation because a wrong press can change the account immediately.
If the layout uses colors, stickers, spacing, or keycap groups, reserve the strongest visual cues for high-impact actions. Buy and sell controls should also be clearly separated from close-all style controls.
The purpose is not decoration. It is reducing cognitive load when the trader is tired, rushed, or watching a fast market.
Keep labels specific
Labels should describe the action and, where possible, the scope. A label like Close Current Symbol is safer than a vague close label if the command affects the current chart only. A label like Breakeven + Buffer is clearer than a generic protect label.
Avoid labels that require memory from a separate document. If a key's meaning cannot be understood while looking at the pad, the layout is not ready for live use.
A useful test is to step away for a day, return to the desk, and explain each key without opening notes. If the labels still make sense, the layout is closer to usable.
Use physical grouping to reduce mistakes
Physical grouping is one of the easiest layout improvements. Entry keys can sit together, protection keys can sit together, and close-scope keys can be kept in their own area. This helps the trader read the pad quickly without scanning every label.
Some traders also prefer leaving one blank or unused key between high-impact commands. An empty space can be useful if it prevents a costly accidental press.
The layout should be judged by how it behaves during stress. A map that looks nice in a setup screenshot may still be poor if the trader hesitates or presses the wrong row during an active session.
Use visual hierarchy without implying hardware is included
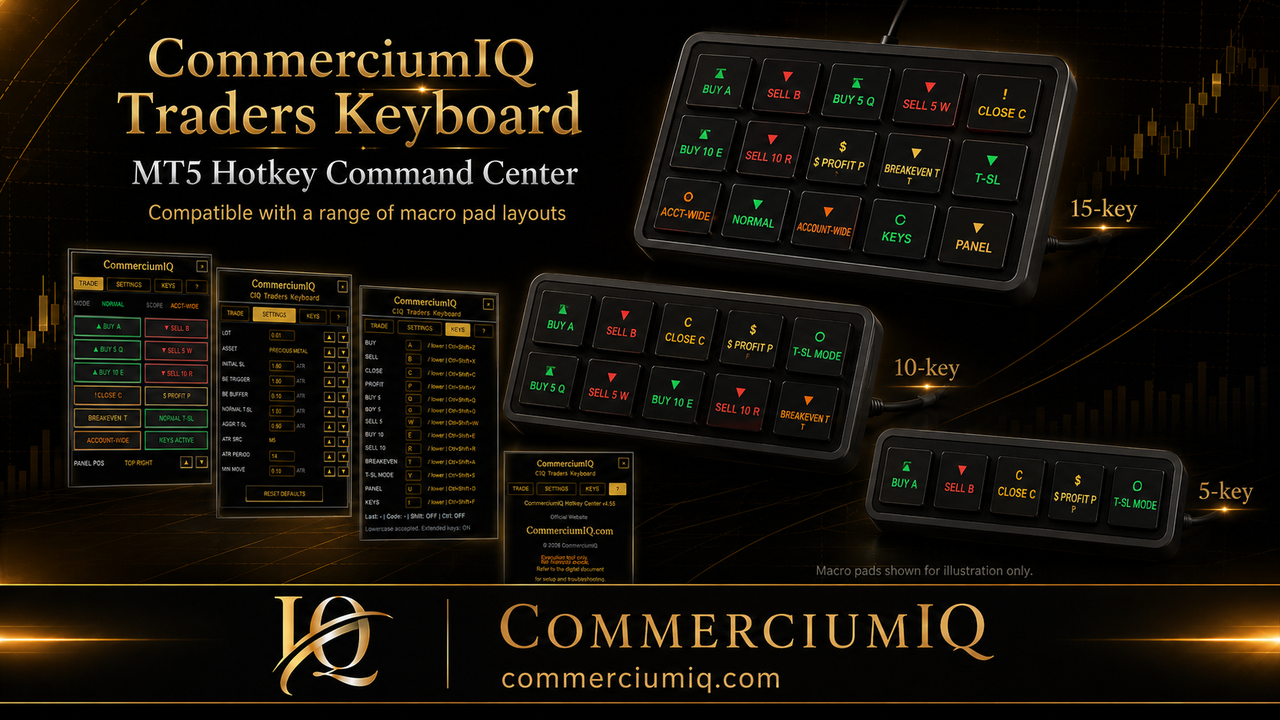
Screenshots, diagrams, and videos may show example macro pad layouts, but the product remains software-only. Any hardware shown is illustrative unless a hardware bundle is explicitly offered.
Comparing 4-key, 8-key, and 12-key layouts also requires users to verify their own hardware, drivers, and keyboard-mapping behavior before relying on them.
A good article helps a buyer understand the optional workflow without creating the impression that a physical device ships with the software.
Demo-test the layout as a system
After testing individual commands, test the whole layout as a routine. Open a demo position, use the intended protection command, test close scope, and review the platform history. Then repeat with multiple positions and multiple symbols.
The layout should be judged by actual platform outcomes. If the trader expected one position to change and several changed, the layout or command scope needs review before further use.
A good macro pad layout is not just comfortable. It is documented, tested, and boring enough that the trader can use it without guessing.
Review and simplify after real demo sessions
After several demo sessions, review which keys were used and which keys caused hesitation. Commands that are never used can be removed from the primary layout. Commands that are useful but risky can move to a less convenient position.
The best layout may become simpler over time. A trader might start with twelve available keys and later discover that eight clearly labeled controls are easier to manage.
This review process keeps the macro pad layout aligned with the trader's actual workflow instead of turning it into a feature collection.